Brave Search is a popular search engine that emphasizes privacy, but it might not be the best fit for everyone. If you have it on your Chromebook desktop and want to remove it, you’ve come to the right place. Whether you’re switching to a new search engine or just decluttering your desktop, this article will guide you through the steps to delete Brave Search from your Chromebook.
Why You Might Want to Remove Brave Search
There are a few reasons you might want to remove Brave Search from your Chromebook. Perhaps you’re trying a different search engine, like Google or Bing, or maybe you just want a cleaner desktop without too many shortcuts. Deleting Brave Search will not affect the performance of other apps or search engines on your device. It’s a simple and straightforward process.
How to Delete Brave Search from Chromebook Desktop
Here’s how to remove Brave Search from your Chromebook desktop in just a few easy steps:
1. Locate the Brave Search Icon
Start by finding the Brave Search icon on your Chromebook desktop. This is the icon you’ll need to remove to delete the search engine from your desktop.
2. Right-Click on the Icon
Once you have located the Brave Search icon, right-click on it. This will bring up a menu with several options.
3. Select Uninstall or Remove from Chrome
In the options menu, you’ll see an option to either Uninstall or Remove from Chrome. Click on this option to proceed.
4. Confirm the Action
A prompt will appear asking if you are sure you want to remove Brave Search. Confirm the action, and the Brave Search icon will be removed from your desktop.
Alternative Method: Remove Brave as the Default Search Engine

If Brave Search is set as your default search engine and you want to switch back to another option, like Google, follow these steps:
- Open Chrome Settings
On your Chromebook, open the Chrome browser. In the top-right corner, click on the three-dot menu and select Settings. - Navigate to the Search Engine Section
Scroll down in the settings menu until you find the Search Engine section. Here, you can manage which search engine is used by default. - Change the Default Search Engine
Click on the dropdown menu and select a new search engine (Google, Bing, Yahoo, etc.). This will replace Brave Search as your default. - Save Your Settings
Once you’ve selected a new search engine, the changes will take effect immediately, and you’ll no longer be using Brave Search by default.
Tips for Managing Search Engines on Chromebook
Chromebook makes it easy to manage and customize your search engines. Here are a few tips:
- Adding New Search Engines
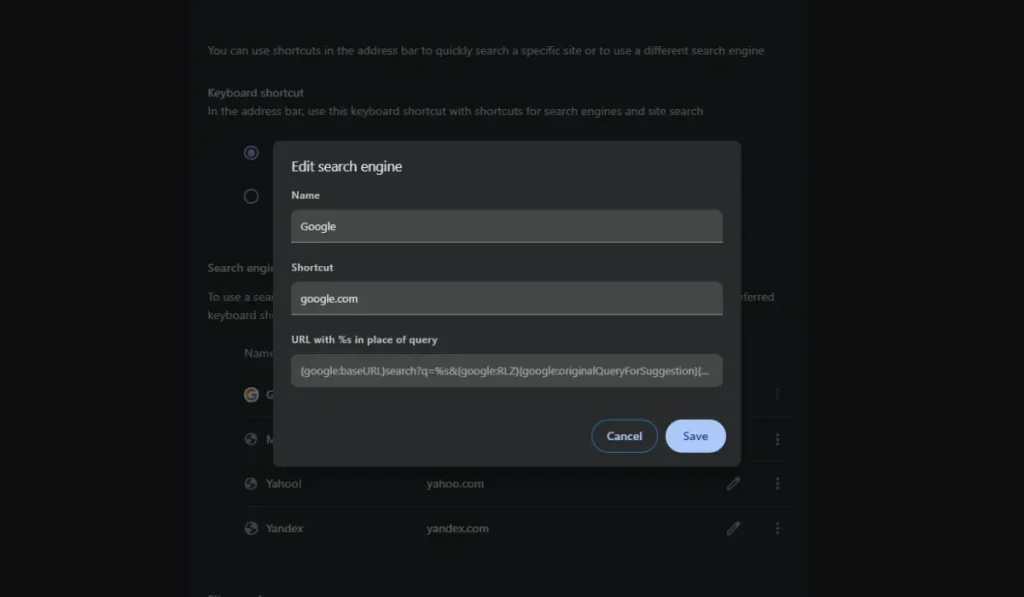
You can always add a new search engine through Chrome’s settings. Simply go to Settings > Search Engine > Manage Search Engines, and you can add any engine you like. - Removing Unwanted Search Engines
If unwanted search engines appear in your list, it’s a good idea to remove them. This will help keep your browsing experience safe and free from clutter. - Avoiding Unwanted Search Engine Changes
Sometimes, extensions or malware can automatically change your search engine. Always download extensions from trusted sources and regularly check your browser settings to ensure nothing has changed without your permission.
Security Considerations: When managing search engines, it’s important to consider your privacy and security. Make sure you’re only using trusted search engines that protect your personal information. Also, if you notice any unfamiliar or suspicious search engines on your Chromebook, it could be a sign of malware. In that case, consider running a malware scan and removing any unwanted extensions or apps.
Conclusion
Removing Brave Search from your Chromebook desktop is a simple task that can be completed in just a few steps. Whether you’re looking to clean up your desktop or switch to a new search engine, you now know how to do it. Remember to regularly check and manage your search engine settings to ensure a smooth and safe browsing experience.
Did this guide help you delete Brave Search from your Chromebook? Share your experience in the comments below or share this article with others who might find it useful! For more tips on managing your Chromebook, be sure to subscribe to our newsletter.