Are you excited about the new features and improvements in the Windows 11 24H2 update? Keeping your PC up to date means getting the best performance and the latest security protections. In this guide, we’ll walk you through the steps to install the Windows 11 24H2 update. Whether you use Windows Update or prefer manual tools, we’ve got all the details you need!
What’s New in Windows 11 24H2?
The Windows 11 24H2 update is packed with new features to improve your computer. Here’s what you can look forward to:
- A faster and smoother user experience.
- Enhanced security features to protect your data.
- Fresh design updates for an improved look.
- Performance enhancements for better speed and efficiency.
Updating your system keeps it secure, up-to-date, and running at its best!
What to Do Before Installing the Windows 11 24H2 Update
Before you install the Windows 11 24H2 update, it’s important to make sure your computer is ready. Here’s what you need to do:
- Check System Requirements: Make sure your PC meets the basic requirements for Windows 11 (like TPM 2.0 and a compatible processor). Go to Settings > System > About to check your device specs.
- Back Up Your Files: Always back up your important data before doing any major update. You can use Windows Backup or a cloud service like OneDrive to store your files safely.
- Free Up Space: Make sure you have enough storage for the update. Go to Settings > Storage to see how much space is available. If you’re low on space, use Disk Cleanup to remove unwanted files.
How to Install the Windows 11 24H2 Update
Now that your PC is ready, here are the easiest ways to install the update:
1. Use Windows Update

This is the simplest way to install the update.
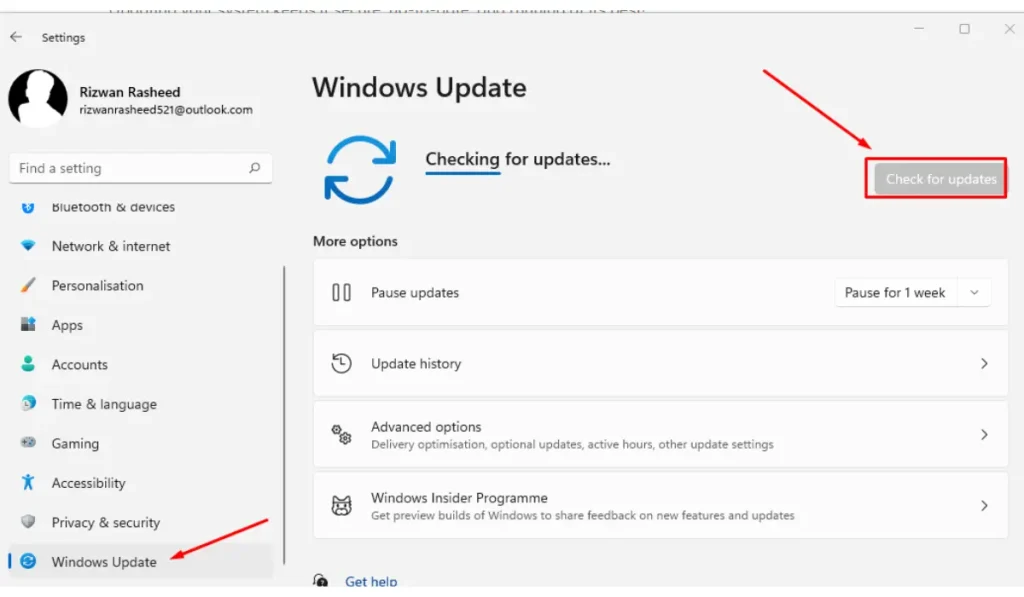
- Open Settings and go to Windows Update.
- Click Check for Updates.
- If the Windows 11 24H2 update is available, click Download and Install.
- Follow the instructions, and your PC will restart when the update is done.
2. Use the Windows 11 Installation Assistant

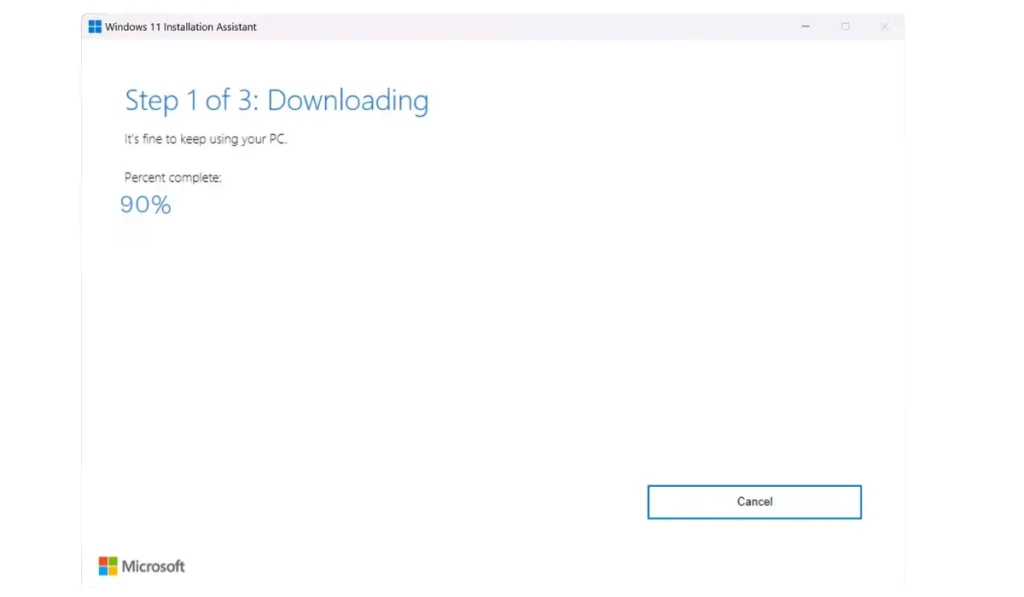
If you don’t see the update in Windows Update, you can try the Windows 11 Installation Assistant.
- Go to Microsoft’s Windows 11 Download page.
- Download the Windows 11 Installation Assistant tool.
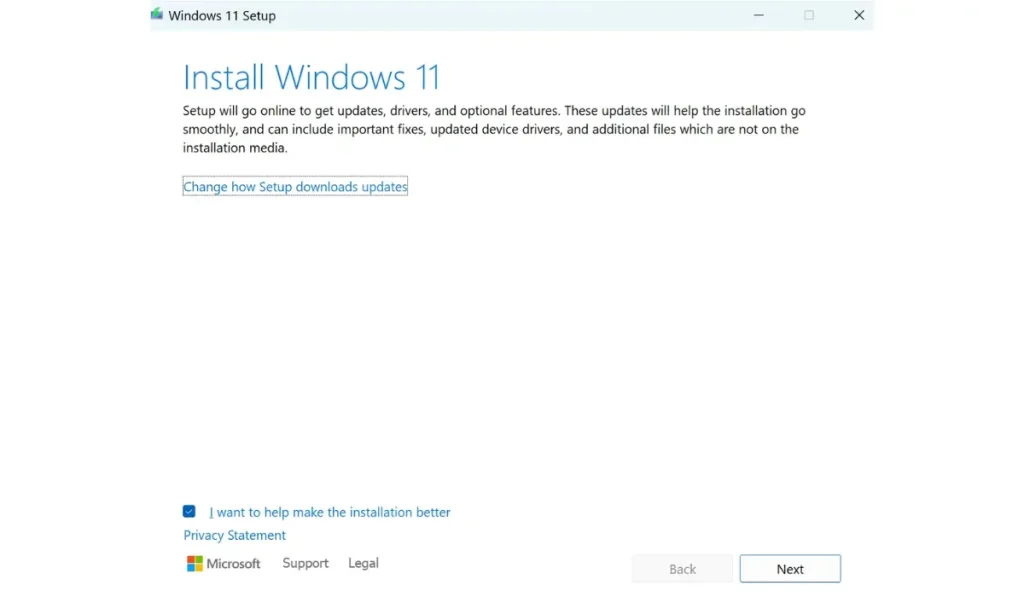
- Run the tool and follow the on-screen instructions to install the update.
3. Use the Media Creation Tool

You can also install the update using the Media Creation Tool, especially if you want to create a bootable USB for other PCs.
- Download the Media Creation Tool from Microsoft’s Windows 11 Download page.
- Choose Upgrade this PC now to install the update.
- Follow the prompts to complete the process.
4. Clean Install Windows 11 24H2 with Rufus

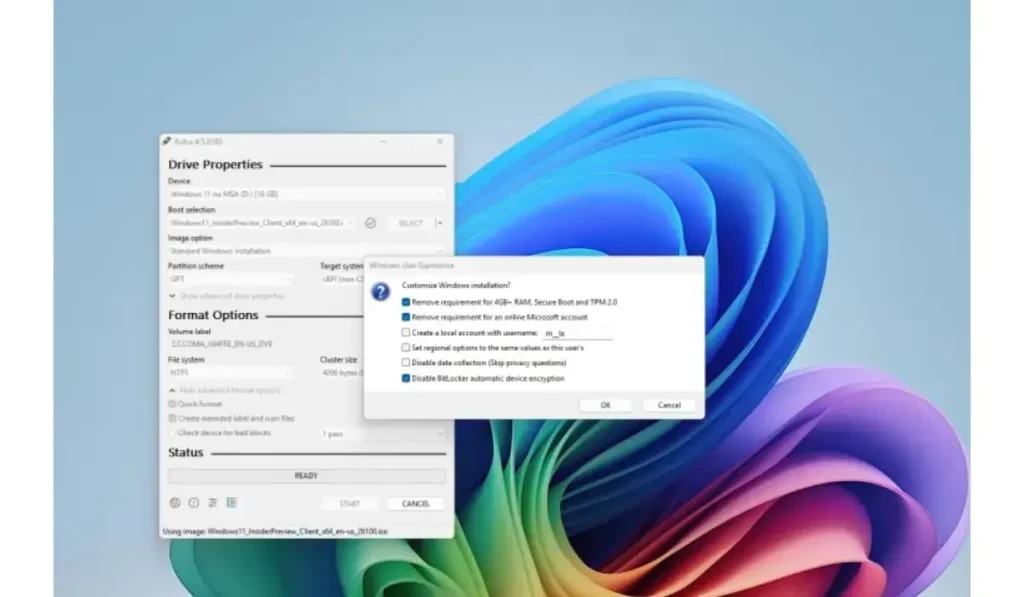
If you want a completely fresh start or are installing Windows 11 on a new PC, you can perform a clean install using Rufus. Rufus is a free tool that helps you create a bootable USB drive to install Windows. Here’s how to do it:
1. Download the Windows 11 ISO File
- Go to the official Microsoft Windows 11 Download page.
- Download the Windows 11 ISO file for the 24H2 update.
2. Download and Install Rufus
- Go to the Rufus website and download the latest version.
- Install Rufus on your PC.
3. Create a Bootable USB with Rufus
- Insert a USB drive (at least 8GB) into your computer.
- Open Rufus.
- In the Device section, select your USB drive.
- Under Boot selection, click SELECT and choose the Windows 11 ISO file you downloaded.
- Rufus will automatically adjust the settings for you. If needed, make sure Partition scheme is set to GPT and File system is NTFS.
- Click Start and wait for the process to complete. This will create a bootable USB for a clean installation of Windows 11.
4. Install Windows 11 24H2
- Plug the bootable USB into the computer you want to install Windows 11 on.
- Restart the computer and press the key (usually F12, Esc, or Del) to enter the Boot Menu.
- Select the USB drive from the boot options.
- Follow the on-screen instructions to install Windows 11 24H2. Make sure to choose Custom Installation for a clean install.
- Once the installation is complete, follow the steps to set up Windows on your device.
Important Note: A clean install will erase everything on your computer, so make sure you back up all your important data before starting this process.
What to Do After the Update 11 24H2
Once the update is installed, here are a few things you should do:
- Check for Extra Updates: Sometimes, smaller updates are released after a major update. Go to Windows Update again and click Check for Updates to make sure your system is fully updated.
- Verify Your Files: Make sure everything is working fine and your files are intact. If needed, restore files from your backup.
- Explore New Features: Take a moment to explore the new features that come with the 24H2 update. You might find some cool design changes or new settings to improve your experience.
Troubleshooting Common Issues
If you run into problems, don’t worry. Here are some simple fixes:
- Update Not Showing Up: If the update doesn’t show in Windows Update, you can try using the Installation Assistant or Media Creation Tool.
- Installation Fails: If your PC gets stuck or the installation fails, restart your computer and try again. Make sure your internet connection is stable.
Have you installed the Windows 11 24H2 update yet? What new feature are you most excited about? Leave a comment below or share this guide with friends who might need help updating their PCs!